To provide a better shopping experience, our website uses cookies. Continuing use of the site implies consent.
How to Storage Wax Your Skis
How you treat your skis when the season ends makes all the difference in how well they perform next year, as well as how long they last in general. Putting storage wax on your skis before storing them for the summer is critical, and it’s a simple process that can be done at home in just a few minutes if you have a basic wax station. We created this How to Storage Wax Your Skis Guide to detail everything you need to keep your skis ready for the upcoming season.
Sections:
Why Do Skis Need Storage Wax?
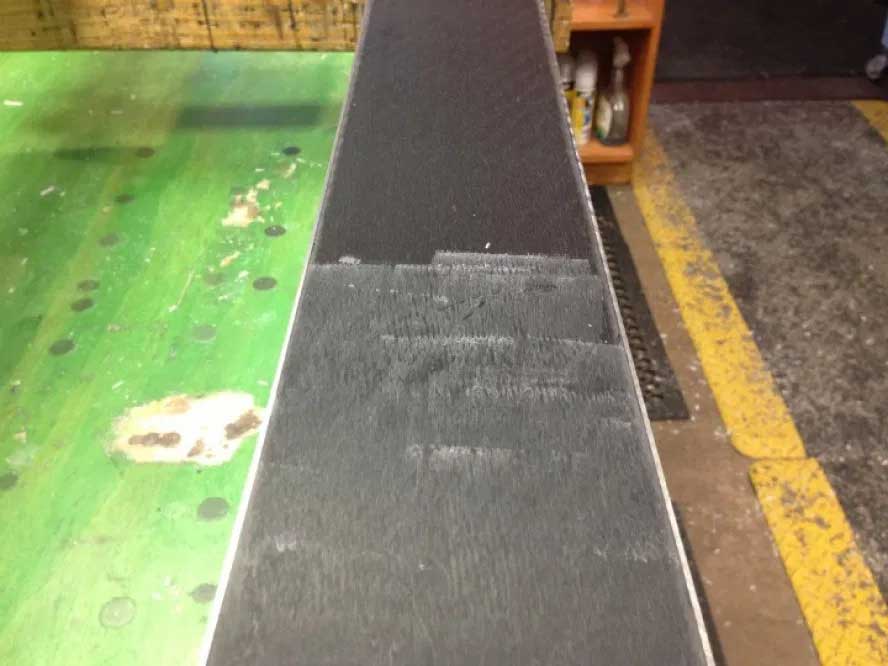
In basic terms, the goal of storage wax is to limit contact between your ski’s bases and oxygen. Polyethylene (what your bases are made of) is susceptible to oxidation over long periods of oxygen exposure. So while one summer without storage wax isn’t going to ruin your skis, it will start a slow process of base-degradation. If you were to look closely at a pair of improperly stored skis, you would see what look like tiny hairs as the polyethylene starts to break down and peel—the telltale chalky appearance of dried-out bases. If this process is too far along, your skis will need a fresh base grind before ever fully accepting wax again.
Dried out ski bases have a chalky appearance.
What Type of Wax Do I Need for Storage?
Glide wax comes in all shapes, sizes, and varieties. From “universal” waxes to highly fluorinated and temperature-specific race waxes. For storage waxing, you don’t need to break the bank on anything fancy; in fact, high-fluoro waxes aren’t ideal to leave in your bases for an extended period of time. Choose something soft, pure (additive-free), and affordable.
What Equipment Do I Need?
This is the equipment you will need to storage wax your skis:
Base conditioning or all-temperature wax
Waxing iron
Sturdy rubber bands
Plastic/plexi scraper
Nylon brush (optional)
Screwdriver
How to Apply Storage Wax
Assess Base Condition
If your skis are in really rough shape at the end of the season, it’s a good idea to have them tuned before applying storage wax. A fresh stone grind ensures that the bases of your skis will accept or “soak-in” the wax. Not to mention, it’s nice to be able to scrape-and-go at the start of next season. If your skis are in decent shape, and you want to save the tune until next year’s pre-season conditions improve, then you can get started on storage waxing.
Dry Skis
Use an old rag to thoroughly dry your ski’s bases, edges, and all of the nooks and crannies of the bindings.
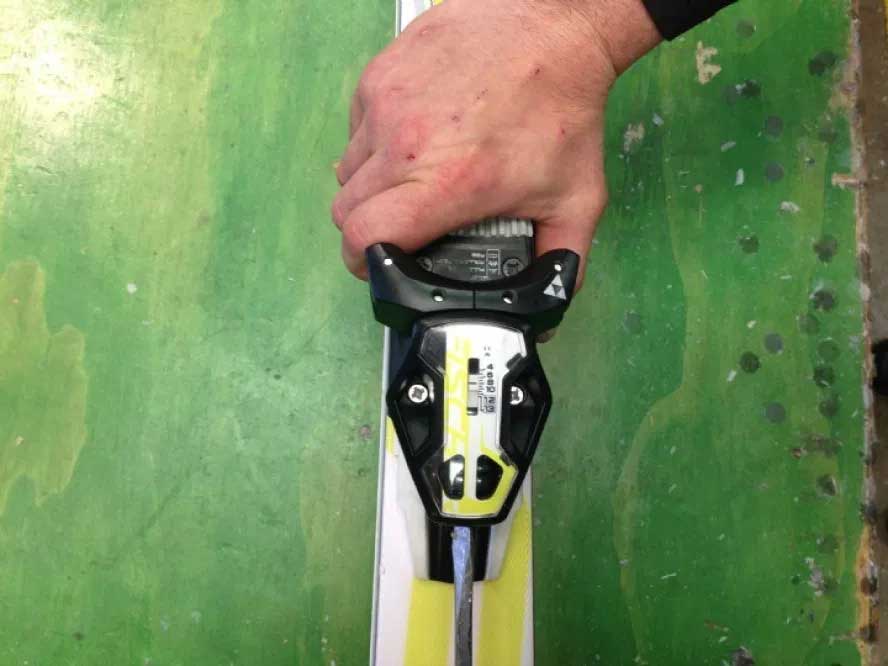
Turn Down DINs
The toe and heel pieces of your bindings use heavy-duty internal springs to ensure proper retention of your ski boot, while still releasing in the event of a fall. These springs are set, or compressed, based on Deutsches Institut für Normung (DIN) standards. In order to ensure that the springs in your bindings stay true to the numerical indicators on your DIN windows, it is a good idea to back them out to the lowest setting before storage. To do this, find the DIN screws on both toe and heel pieces—usually located on the front of the toe piece and the rear of the heel piece—and turn them counterclockwise. In some instances, especially with Marker bindings from the Royal line, the toe piece DIN screw will be located on the side.
Turn the DIN screws counterclockwise to turn down your DINs.
To make sure you don’t start next season with an unexpected and ill-timed pre-release, cover your DIN indicators with pieces of tape reminding yourself to turn them back up to their original settings.
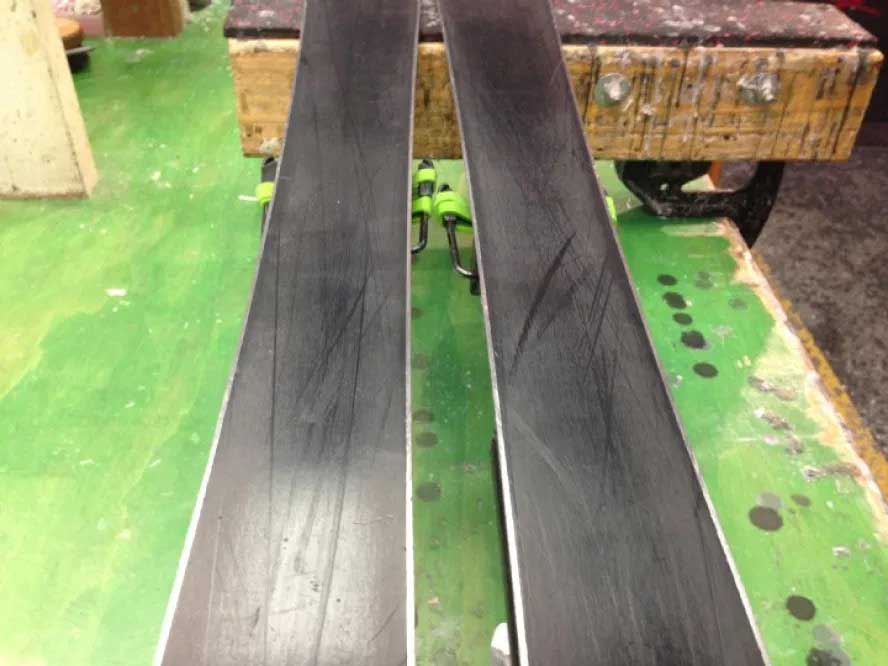
Clean Bases
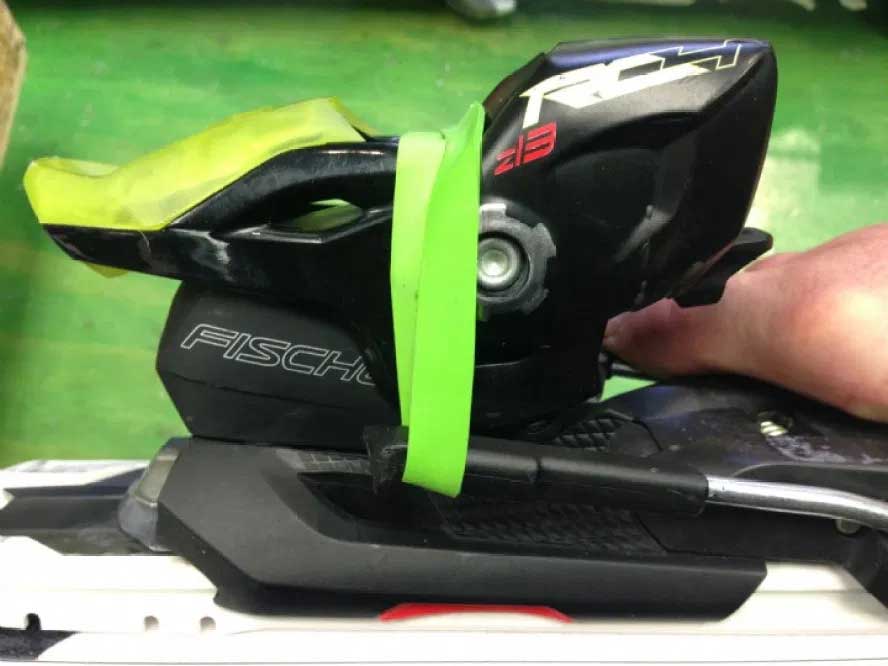
Before you begin the following steps, you’ll want to use heavy-duty rubber bands to get the brakes of your bindings out of the way. Loop the rubber band up and over the heel piece and make sure it’s securely in place.
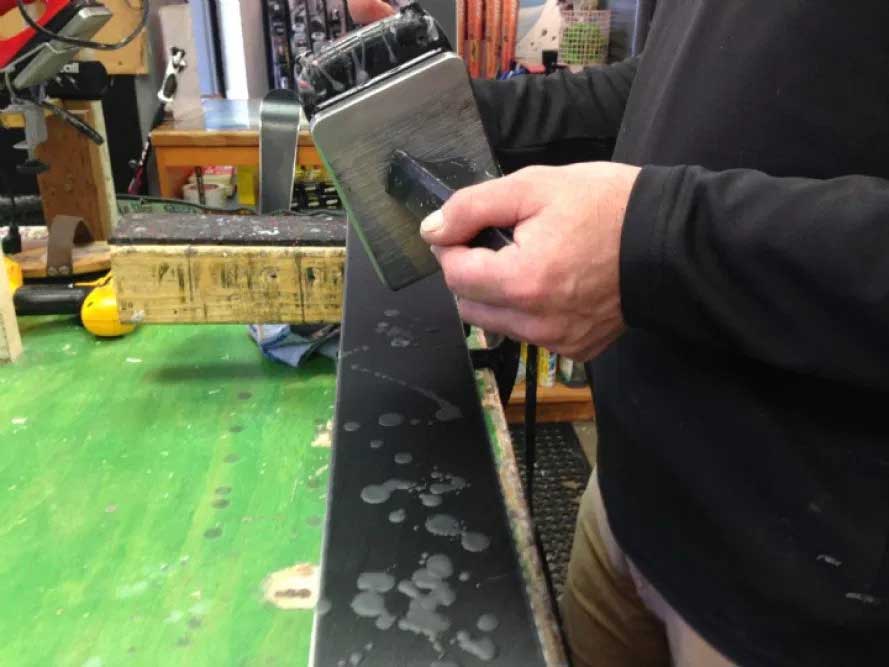
Next, you’ll want to remove as much old wax as possible by gently scraping your skis using a plastic scraper. This gets rid of any unwanted wax build-up, especially on the tip and tail of your skis, while smoothing down hairs that may have developed on your bases from contact with rough, late-season snow. Then, use a nylon brush to pull any leftover wax out of the structure of your skis. Make a few passes tip-to-tail to make sure you get as much of the old wax out as you can.
Brushing your skis helps remove any leftover wax.
Apply Wax
Now that your bases are clean, you’re ready to wax. For this, the options are widespread. In our tune shop, Rennstall, we like to use Dominator Renew Graphite for black bases, and Dominator Renew Purple for clear or colored bases. That being said, both Toko Non Fluoro and Swix BP88 base prep waxes are great options as well.In order to prevent base burn during the ironing process, we recommend rubbing a layer of wax onto the base first. Rub the wax into a smooth haze along the full length of the ski.
A smooth haze of wax prevents base burn.
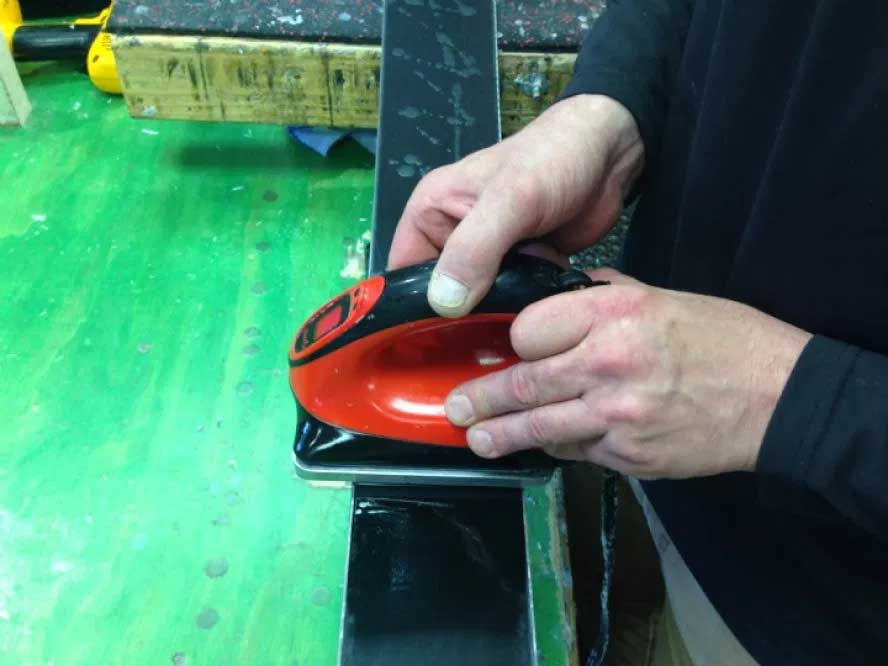
Using a clean waxing iron, drip the wax you’ve selected onto the bases. You’ll want to make sure that you double check the recommended iron-temperature for your wax, and set your iron accordingly. Since your bases will absorb quite a bit of the wax over the course of the summer, don’t be afraid to be liberal with the application.
Once you’ve dripped on your wax, you’ll use your iron to make 3-4 slow passes from tip-to-tail, melting the wax as evenly as possible. Keep the iron moving at all times – moving too fast prevents even distribution of the wax and limits absorption, while moving too slowly can burn your bases. A good indicator for the right iron speed is to keep a 3-4 inch trail of wet wax behind your iron.
After ironing, take a step back to let the wax cool and fully solidify, while making sure that you covered the entirety of both bases.
Store Properly
Choosing a good place to store your skis is the last, but most important, part of the process. Overly hot and dry conditions can damage any plastic found on your bindings or topsheet, while conditions that are too cool and damp will rust the metal of your edges and binding-internals.A good rule-of-thumb is to store your skis in a place that you wouldn’t mind spending the whole summer. Basically, basements, attics and garages are risky. The closet in a temperature-controlled house is ideal.
Removing Storage Wax
Storage wax will soak-in to the base of the ski over the summer and appear to be mostly gone. Resist the urge to “ski off” what’s left. Skiing unscraped skis doesn’t work the way you think it will. Excess wax on the base of your skis creates more material for snow crystals to grab on to, and will actually result in more wax being pulled out of your bases—and in a rough manner, at that. By trying to multi-purpose your storage wax as an early-season wax job, you’ll end up ripping even more wax out of your bases’ pores, where you want it.
It’s also important to remember that storage wax is intentionally soft and non-temperature-specific. Always scrape your storage wax and re-wax with a temperature- and condition-appropriate paraffin wax!