To provide a better shopping experience, our website uses cookies. Continuing use of the site implies consent.
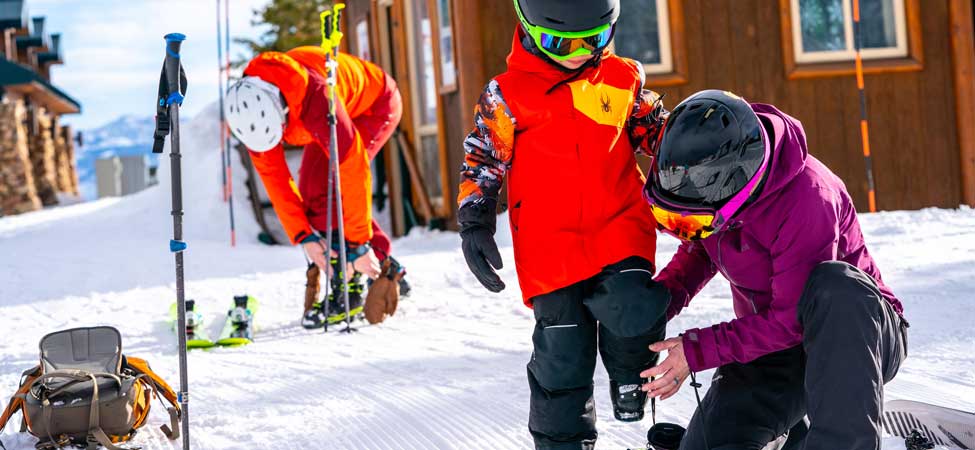
Seasonal Ski Gear Checklist
Practicing proper seasonal ski gear maintenance will improve your equipment’s lifespan, performance, and safety. Our Seasonal Ski Gear Checklist covers all the steps you should take at the end of the season so your gear is ready to go once the snow flies.
Sections:
Proper Gear Maintenance is Key
Proper seasonal maintenance of your ski gear will improve longevity, performance, and safety. It is critical to making sure you get the most out of your investment. When talking about seasonal gear maintenance, we stress the idea that what you do at the end of the season sets you up for success at the start of next season. For that reason, we’ll start with our end-of-season checklist before moving on to our start-of-season checklist.
End-of-Season Checklist
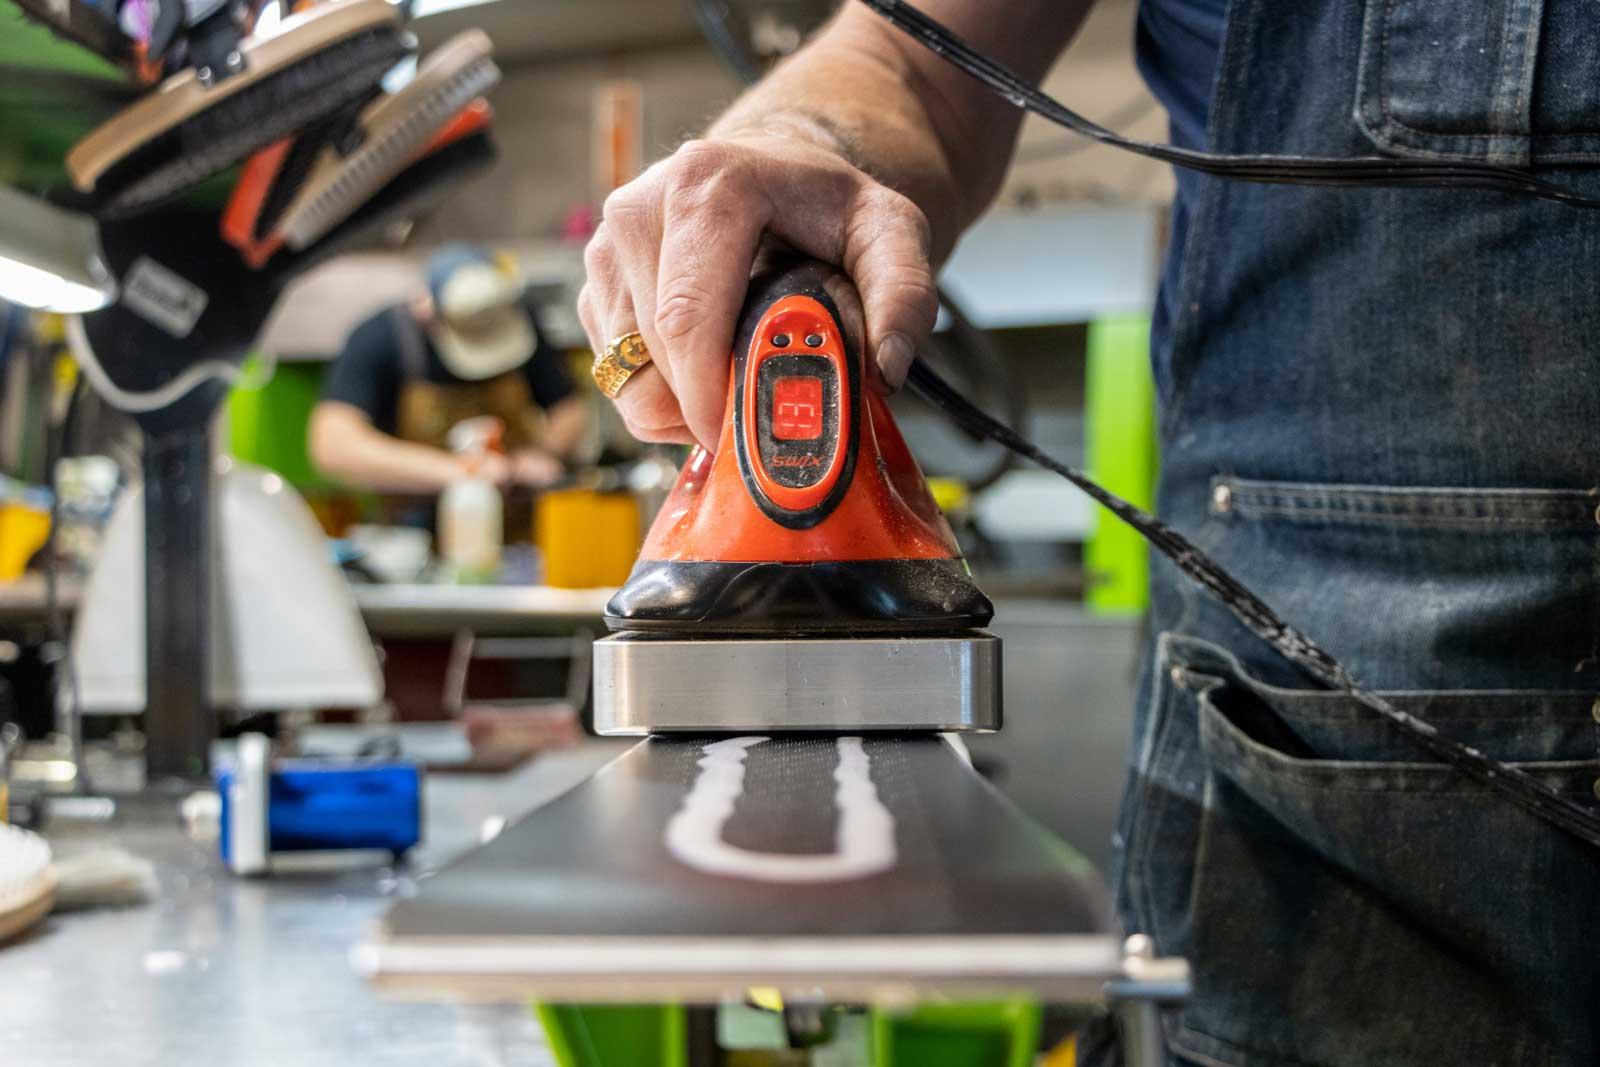
Storage Wax Your Skis
The goal of storage wax is to limit contact between your ski bases and oxygen. Polyethylene—what your bases are made of—is susceptible to oxidation over long periods of oxygen exposure. And so while one summer without storage wax isn’t going to ruin your skis, it will start a slow process of base-degradation.
For more information on why (and how) to storage wax your skis at the end of each ski season, visit our How To Storage Wax Your Skis page.
Protect your bases from oxidation by storage waxing your skis at the end of the season.
Turn Down Your DINs
The toe and heel pieces of your bindings use heavy-duty internal springs to ensure proper retention of your ski boot, while still releasing in the event of a fall. These springs are set, or compressed, based on Deutsches Institut für Normung (DIN) standards. In order to ensure that the springs in your bindings stay true to the numerical indicators on your DIN windows, it is a good idea to back them out to the lowest setting before storage. To do this, find the DIN screws on both toe and heel pieces—usually located on the front of the toe piece, and the rear of the heel piece—and turn them counterclockwise. (In some instances, especially with Marker bindings from the Royal line, the toe piece DIN screw will be located on the side).
To make sure you don’t start next season with an unexpected and ill-timed pre-release, cover your DIN indicators with pieces of tape reminding yourself to turn them back up to their original settings.
Buckle Your Boots
Plastics have a “memory,” or in other words, a desire to return to their pre-shaped state. As such, ski boots that are left un-buckled at the end of a ski season will begin to “unwrap” in the upper cuff. This means they will lose the curved shape that wraps your lower leg shaft, thus compromising the fit. To avoid this, always store your boots buckled with light tension on each arm.
Store Skis and Boots in Proper Climate
Storing your skis and boots in extreme temperatures, or in areas prone to large temperature fluctuations, can degrade your equipment in a number of ways. Necessary greases in your bindings can dry out, plastic can warp or become brittle, ski edges can rust, and ski bases can oxidize and pull away from edges or core materials. Always store your skis and boots in a room that maintains a consistent (mild) temperature.
Wash and Dry Your Outerwear
Dirty ski outerwear means compromised waterproofing and breathability. Dirt lodged within the fabric’s fibers, or the pores of the waterproof membrane, acts as a conduit for water to penetrate the protective layers. Removing this dirt will prevent water that lingers on the surface from entering underlying layers. Drying your outerwear (on low heat) also helps restore waterproofing and breathability. For more information on why (and how) to wash and dry your outerwear, visit our How To Wash Ski Outerwear page.
Leave a Detailed Note of Any Gear-Related Issues
No matter how fresh your frustration feels at the end of a ski season, summer has a sneaky way of making you forget about faulty ski gear. To avoid starting next season with a slew of unpleasant reminders, leave yourself a detailed note about any gear that needs to be adjusted, fixed, or replaced. Whether it’s a hot-spot in your ski boots, a scratch on your goggle lenses, or a small rip in your ski pants, it’s nice to know what you’re dealing with before (re)discovering the issue on your first day back on the snow.
Start-of-Season Checklist
Scrape Skis (If Properly Storage Waxed)
Assuming you properly storage waxed your skis at the end of last season, you’ll need to scrape them. While it’s tempting to just “ski off” what little wax appears to be left, doing so can actually damage your bases. Best practice is always to scrape, brush, and re-wax at the start of each season.
Check Ski Bases for Oxidation
If you didn’t storage wax your skis at the end of ski season, now is the time to thoroughly investigate any possible damage caused to your bases over the summer. Areas of the base that appear white or chalky are a telltale sign of excessive oxidation, and you’ll need a fresh base grind to reopen those pores before they’ll accept wax again.
Check Skis for Delamination
Carefully inspect around the edges of both skis, looking for areas where the base material, sidewall, or topsheet is separating. These delaminating (“delam”) areas need to be caught early, otherwise water has a tendency to work its way inside and rapidly exacerbate the problem.
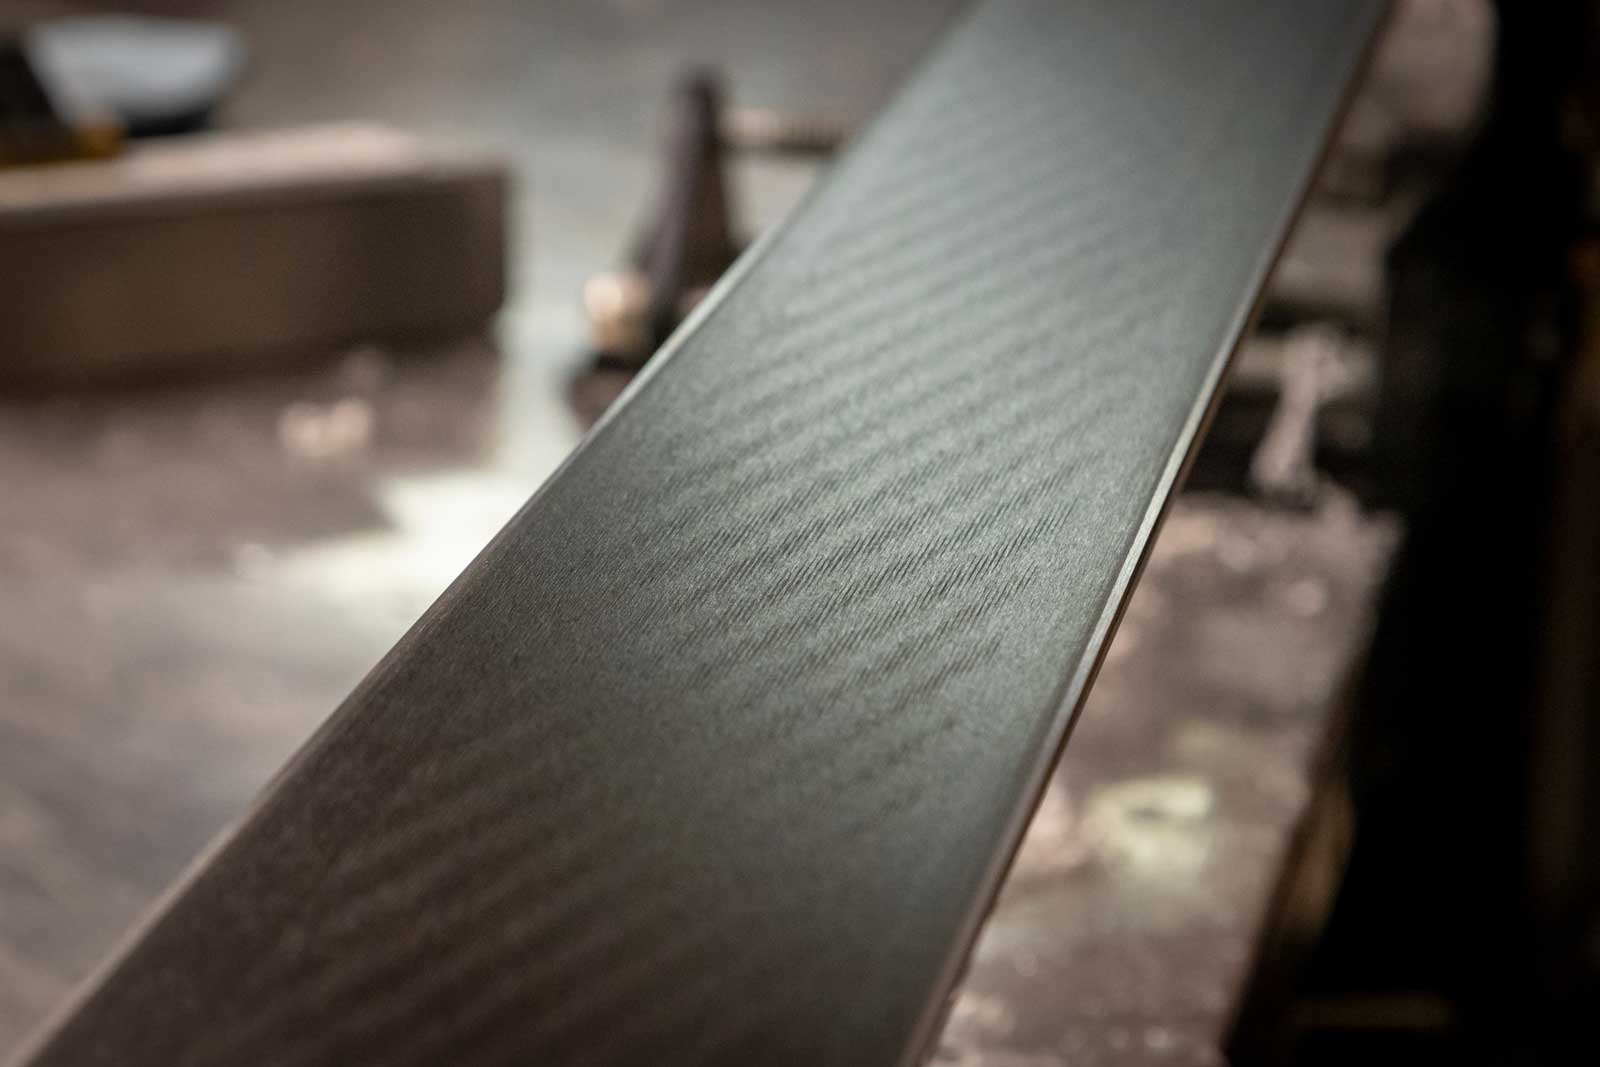
Tune Skis for Current Conditions
While not a mandatory part of the preseason routine, tuning your skis for the current conditions can go a long way to easing the stress early-season conditions can have on your (still strengthening) legs. If you tune your skis regularly, chances are you might be starting this season with a base grind that was optimized for high-moisture snow and warm air temperatures. Swap-out that grind for something better equipped to handle whatever conditions you’re currently presented with—nothing but manmade, unseasonably cold November, etc. That being said, if conditions at your local hill are especially bare to start the season, it’s probably best to wait until the shrapnel is buried before paying for base work.
A freshly tuned base. Photo: Eric Schramm.
Set DINs (If Properly Turned Down)
Assuming you properly turned down your release force setting (DIN) springs at the end of last season, it’s critical that you remember to turn them back up! We’ve all arrived at the lift on day-one and stepped into our bindings with suspicious ease, only to spend the next 30 minutes bugging staff for a screwdriver. Take care of DIN adjustments from the comfort of your home bench.
Have Bindings Tested
It’s always a good idea to have your ski bindings tested at the start of the season, but especially important if you forgot to turn down your DINs and/or stored your skis in less-than-ideal conditions. Ensuring that your bindings are releasing under the exact force at which they should is possibly the easiest way to avoid unnecessary injury out on the snow. Any binding-certified tune shop will have a machine dedicated to ensuring proper release force.
Check Helmet for Cracks/Compromise
You already do this before every day of skiing, right? Or at the very least, you did it at the end of last season. Regardless, start every ski season with a thorough review of your most important piece of safety equipment. Carefully inspect both the outer shell and inner foam (after removing any cloth liner) for cracks or dents. Make sure the inner foam is still solidly attached to the outer shell, and that all straps and fit systems are properly secured and functioning. Basically, inspect it like your life depends on it.